Welcome to IRIS Clarity, your noise-cancellation solution. To get started, create an account, download the desktop app and take a look at the guide below for a quick tour.
Selecting your microphone and speaker
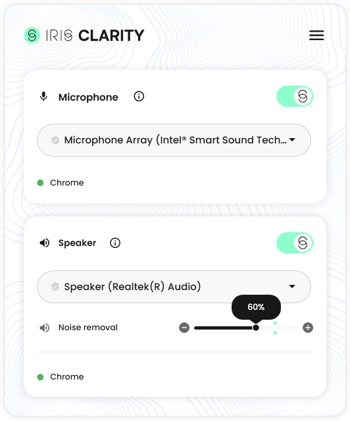
In the app, select the microphone and speaker you would like to use from the drop-down menu.

In your VOIP platform, select IRIS Clarity as the microphone and speaker device.

App Connection Status
You will know that IRIS Clarity has successfully connected to your VOIP platform by the green indicator in the microphone and speaker sections.
A red indicator with the message 'No app connected' means that IRIS Clarity is not connected to a call. You may need to reselect the IRIS Clarity device in your VOIP platform. 
Control noise cancellation
Clarity toggles
You can toggle noise-cancellation on or off on the microphone or speaker using the Clarity switch.
When the switch is green, Clarity is processing audio and removing noise. When the switch is grey, Clarity is not removing noise.

Noise removal slider
The slider allows you to adjust the amount of noise suppression on the speaker side of the call (what you hear).
- To increase the amount of noise removed, for example in particularly noisy environments, move the slider to the right.
- To decrease the amount of noise removed, for example to let background voices or sounds into the call, move the slider to the left.