On Windows, it’s pretty straightforward, but on Mac it’s actually quite confusing. In fact, some of the stats listed don’t really make sense, so we’ve laid it all out for you below.
On Windows
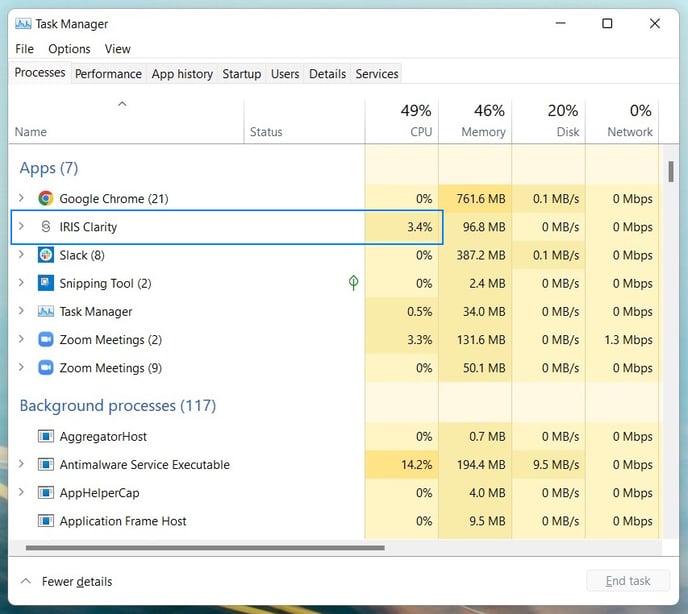
Use Task Manager to view CPU consumption:
- Click Start, type in Task Manager, and select it in the search results
- The Task Manager window defaults to the Processes tab
- Find IRIS Clarity in the list, and look under the CPU column to view its total CPU usage
On Mac
First, find your Activity Monitor. You can do this by going to your Finder > Applications > Utilities > Activity Monitor, or Type Cmd+Space and search for Activity Monitor.
Make sure you select the CPU tab on the top (it’s the left-most tab), and search for Clarity in the search box.
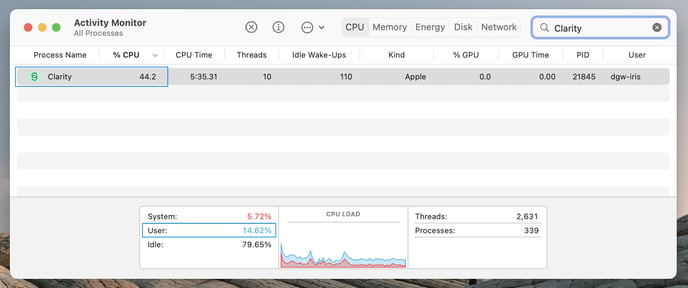
At the bottom left, you’ll notice a box with a few percentages. The user stat is the one you want to look at, as it indicates the total CPU usage by all the apps opened by the user, including IRIS Clarity.
On the Clarity row, you’ll find the % CPU number in the second column. It is this number that is misleading, since the individual app usage seems to be higher than the total usage. Confusing, right?
It turns out this percentage refers to the app’s CPU usage of a single core, not the total CPU usage. In order to get the app’s total CPU usage, you need to divide its usage of a single core’s CPU by the number of cores in your machine.
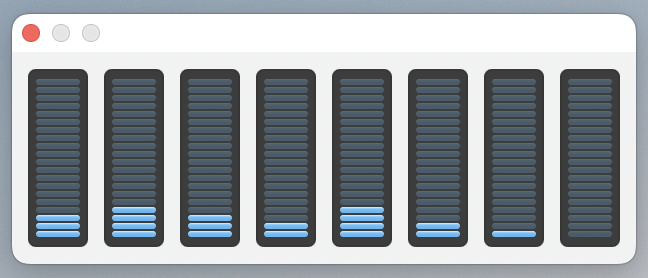
To find out how many cores you have on your computer, type Command+2 from your Activity Monitor. This will open a window with your total number of cores.
To calculate the actual CPU usage:
- Get the app’s total CPU usage (of a single core): 44.2%, in this example
- Divide it by the total number of cores on your machine: 8, in this example
- 44 / 8 = 5.5% total CPU usage by IRIS Clarity